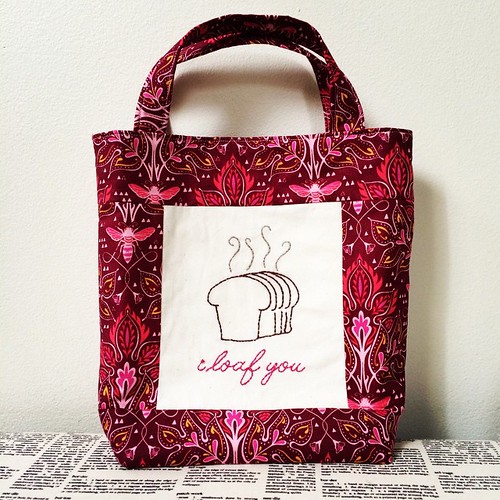
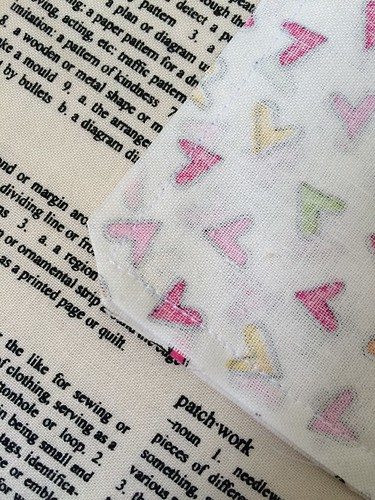
I have had an adorable embroidered piece that I have been struggling to know what to do with for a couple of years now. A couple of weeks back I thought it would be great on a lunch box I was planning to make, so I went on search of a pattern or tutorial. I couldn\’t find one that matched the idea I had in my head so I decided to create one myself and document it along the way so that if you want to make one as well, you can! 🙂
Materials
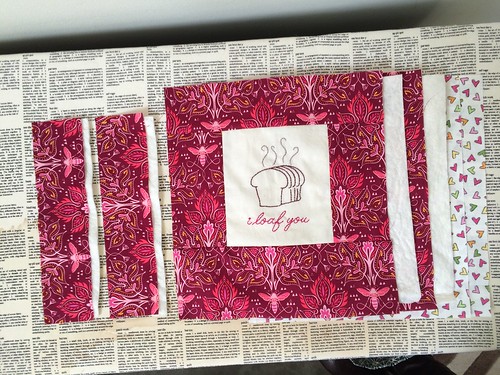
Front Panel:
(1) Finished size of 11.75in tall x 10.75in wide
**Note: If you want to do the embroidery straight onto the panel, another size, or wish to NOT do any embroidery, ensure the final front panel is 11.75in tall x 10.75in wide.
Back Panel:
(1) 11.75in tall x 10.75in wide
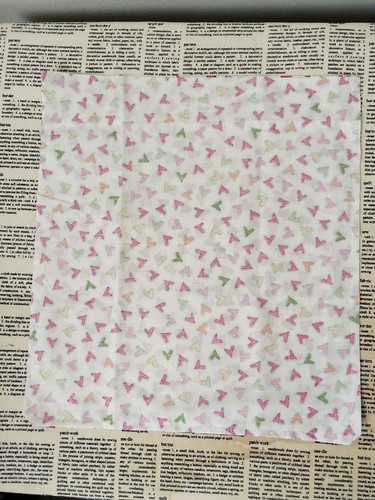
Lining:
(2) 11.75in tall x 10.75in wide
Batting/Insulation:
(2) 11.25in tall x 10.25in wide
(2) 10in x 1in
**Note: I prefer to use fusible batting as it makes it much easier to piece, but it is not required, any normal batting should work fine.
Handles: (2) 10in by 2.5in
Instructions
Step 1:
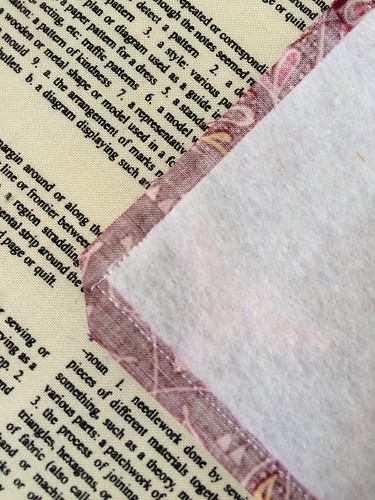
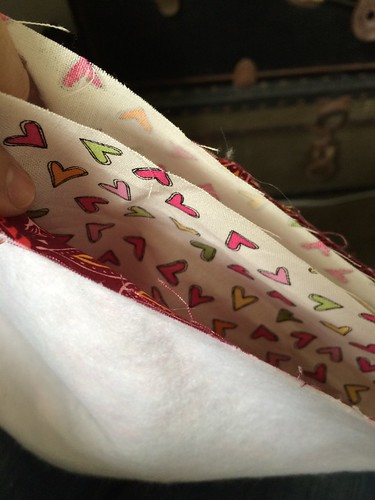
Fuse batting to back of front and back pieces, leaving ~ a 1/4in around the edge.
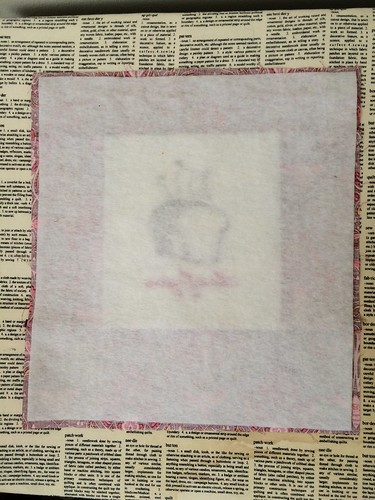
**Note: If you wish to do any quilting to the outside of the bag, this is where you would complete that step.
Step 2:
Sew the two lining pieces together, right sides together, around three sides, leaving one of the 10.75in sides open. Clip the corners.
Step 3:
Sew the two outer pieces together, right sides together, around three sides, leaving the top open. Clip the corners.

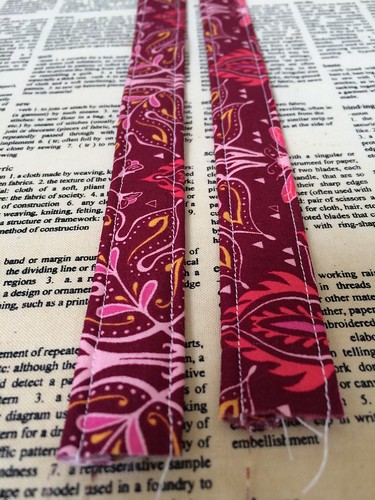
Step 4:
Iron fusible batting to middle of the back of a handle piece. Sew the long edges together and turn. Repeat for the other handle piece.
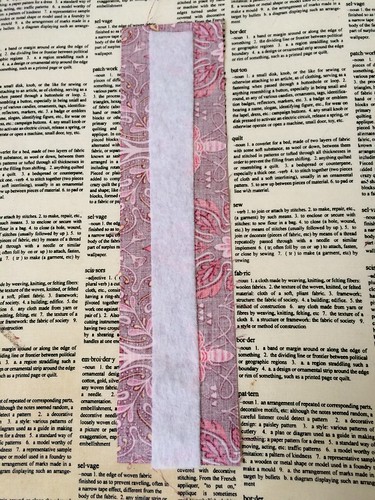
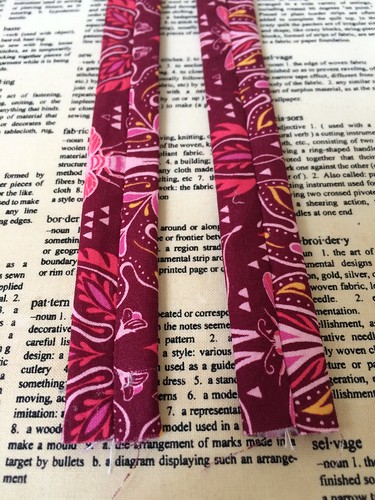
Step 5:
Press the handle pieces with the seam in the middle. Sew an 1/8in seam on each side on the handle.
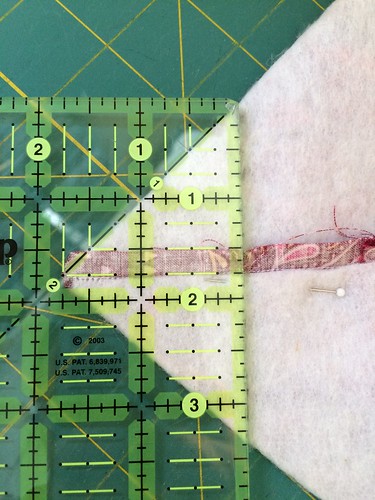
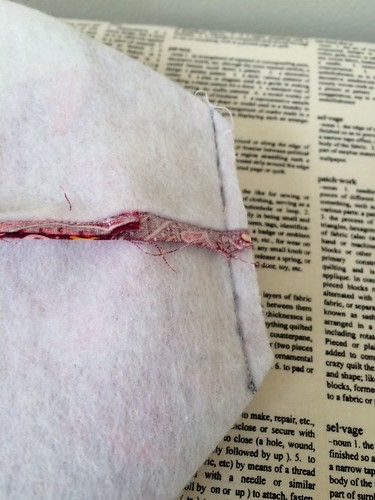
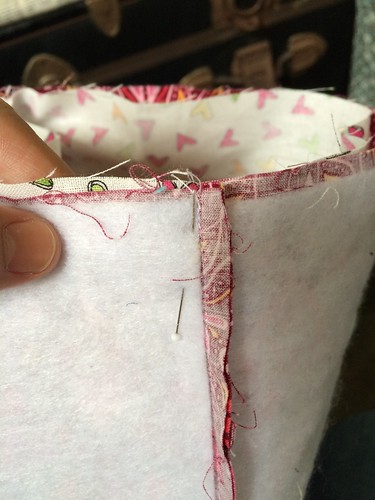
Step 6:
On the outside piece, grab a corner and pinch the bottom and the side seam together until the seams align. Pin, then mark 1.75in up the seam. Draw a line across the corner at that point and sew on the line, ensuring you backstitch both and the beginning and the end of the seam. Trim 1/4in from the seam. Repeat for the other corner.
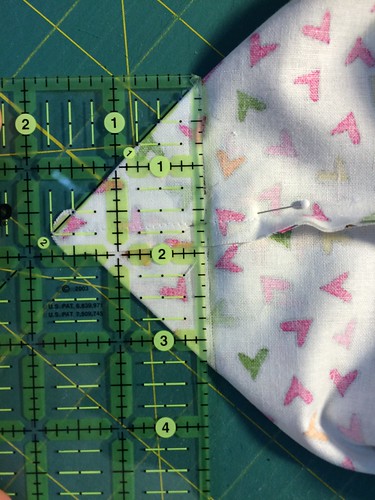
Step 7:
Repeat Step 6 for the lining piece. Flip right sides out.

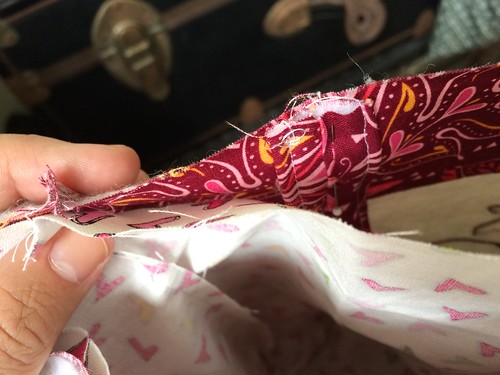
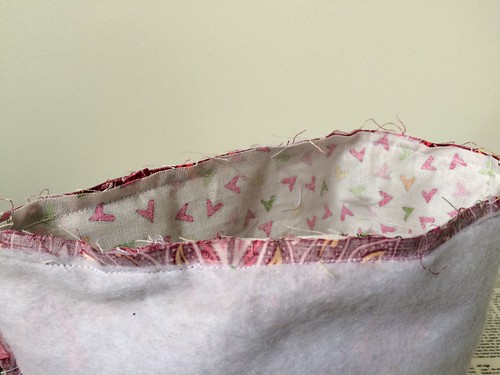
Step 8:
Place the lining piece in side the outer piece so that the right sides are together. Line up the seams and pin in place.
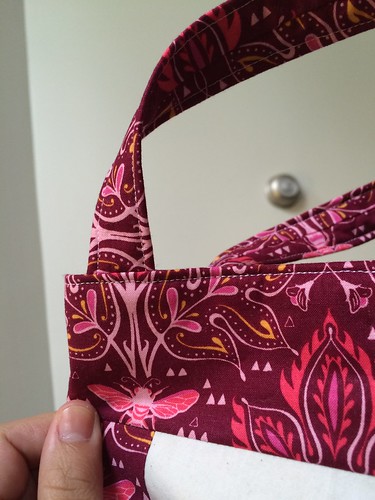
Step 9:
Pin the handles in place between the outer piece and the lining about 2.5in from the outside with the handle seam facing the inside of the bag.
Step 10:
Sew a 1/4in around the top of the bag, ensuring to backstitch at each handle and leaving a ~2in opening on the back side of the bag.
Step 11:
Turn the bag right side out and stuff the liner inside.
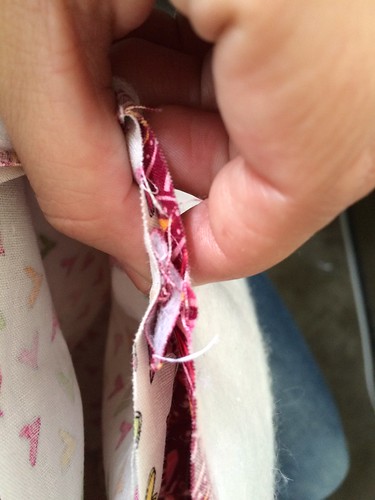
Step 12:
Pin the opening of the bag closed and sew an 1/8in seam around the top of the bag.
Step 13:
If desired, sew on snap , button, or velcro.
And there you have it! A lunch bag that can bring a personal touch along with your lunch. 🙂
Linking up to:


